

Power BI: connect to the Jira database
After reading REST API from Atlassian developer website and looking into the internet, I found the way to connect to my Jira project to extract all incidents without using a token but using only my account (username and password) as it should be.
Before to start, I would like to make reference to this article PowerBI and Jira integration guide that I used to adapt to my needs. In this article, the author explains the “API filter” to get the data but unfortunately it doesn’t work for me. I am using the “API project” to export all contents.
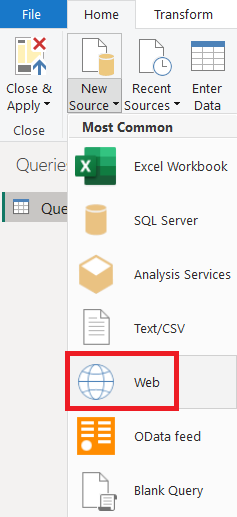
Open Power BI and click on “home -> get data -> web”:
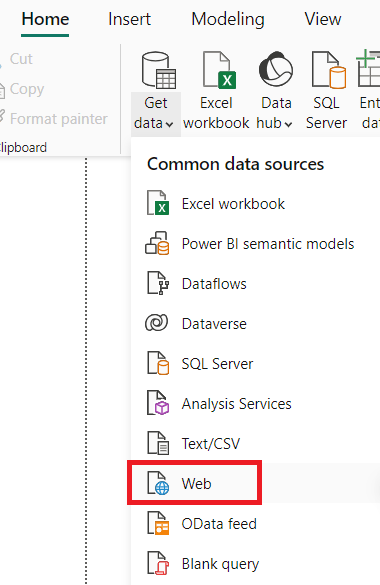
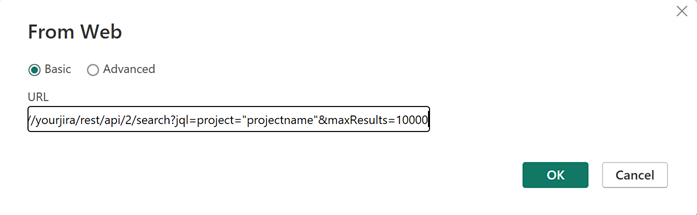
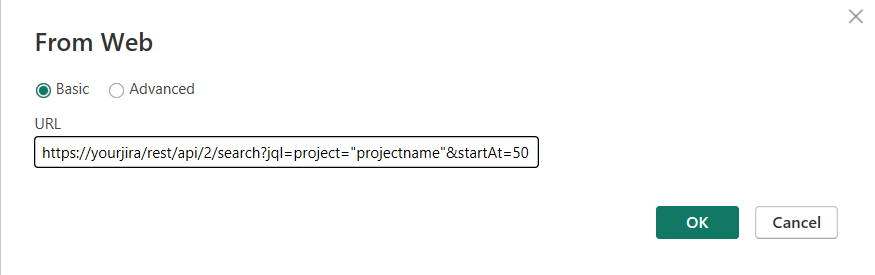
- 1. Put the basic URL and click “OK”:
https://yourjira/rest/api/2/search?jql=project="projectname"
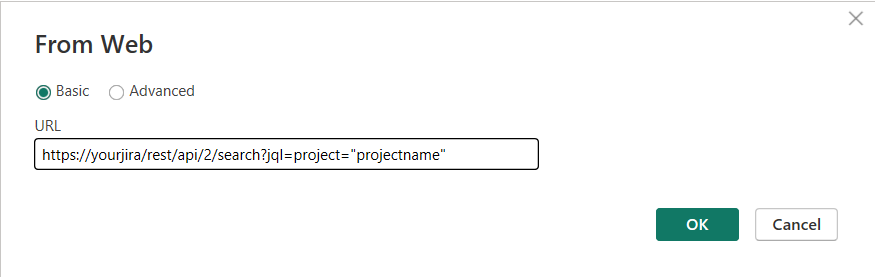
NOTE: change “yourjira” and “projectname” by yours - 2. In the authentication window, select “basic” and I put my credentials (the ones I use to connect to Jira):
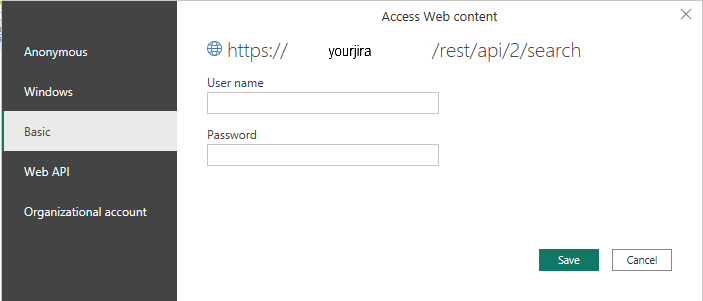
NOTE: this window will not appear anymore once I will be connected to Jira - 3. It will open the power query editor and from here, for “list” and “record” columns, click on the expand icon to select what I need
NOTE: it takes few minutes to connect to Jira and I only get the last 50 incidents - 4. Once done, click on “home -> close & apply”
About the 2 types of columns:
- List: select “expand to new rows” if I want to have each value per row or select “extract values” if I want to have all values in 1 single row
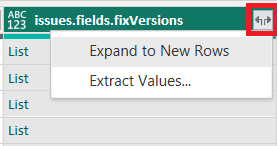
NOTE: if “extract values” gives error values, it means that there are sub-columns so to see them, select “expand to new rows”. - Record: to display sub-columns of the main column
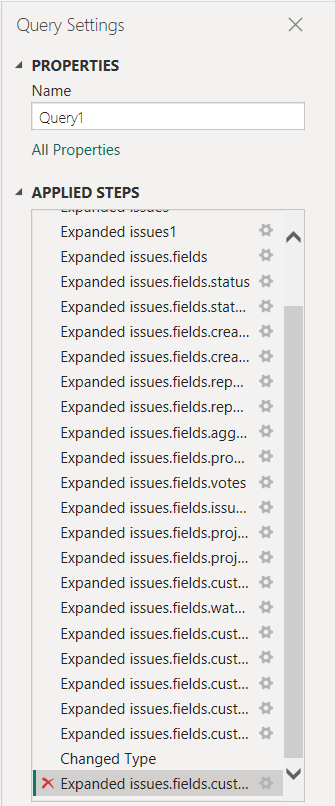
After expanding the record of the main column, if the sub-columns are not what I need, I will just remove them from the “applied steps” section:
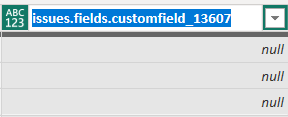
Same action for error values from “extract values” and if I want to rename the needed columns, just double click on the column name:
By default, the API gives only 50 values for 1 page due to a resource topic according to Atlassian. In the other hand, I can increase this number by adding “&maxResults=”:
https://yourjira/rest/api/2/search?jql=project="projectname"&maxResults=10000
NOTE: it will return the maximum that the API can support which will be normally 1000 values (default limit).
To get more pages, I will have to add “&startAt=”:
https://yourjira/rest/api/2/search?jql=project="projectname"&startAt=50
NOTE:
- If I want more pages, I will need to put 100, 150, etc.
- I can combine it with “maxResults”, in this case, the number will be 1000, 2000, etc. because of the default limit of 1000 values
For a big data, this method is not very effective so to get everything I am using this method:
- 1. Using the basic URL, it will open the power query editor by creating “query1”
- 2. Click on “new source -> web” to create “query2” by using again the basic URL
 |
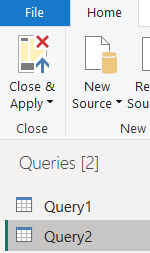 |
- 3. Select “query1”:
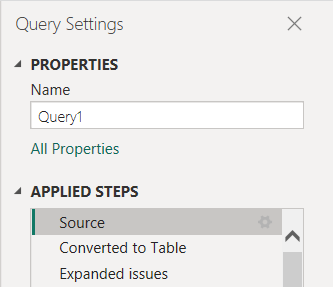
- a. In the “applied steps”, select “source”
- b. Click on “list”
- c. Click on “continue”

- d. Click on “convert to table”
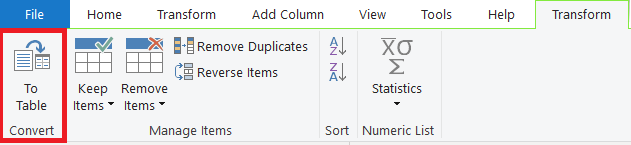
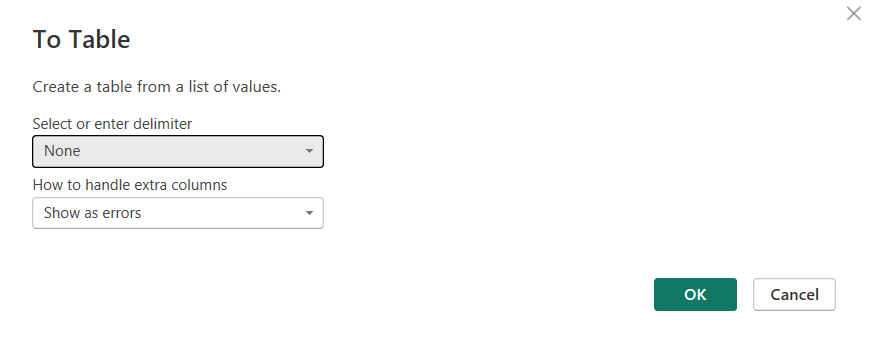
- e. Click on “OK”
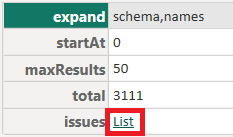
- f. Click on the expand icon to select the 2 columns as in the picture:

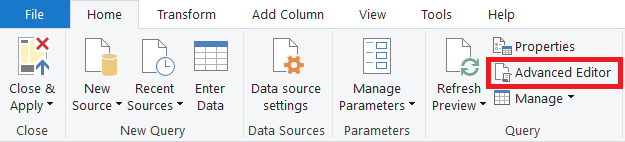
- g. Click on “home -> advanced editor”:
- h. Add those 2 parameters “(start as text) =>” and “,[Query=[startAt=start]]” like that:
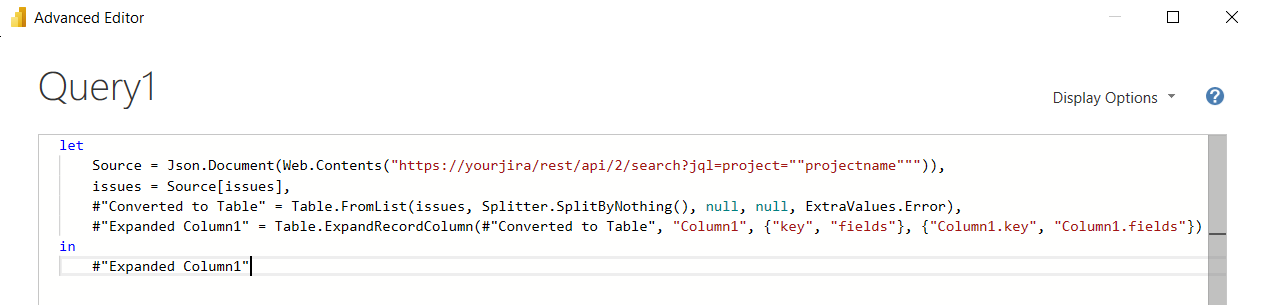
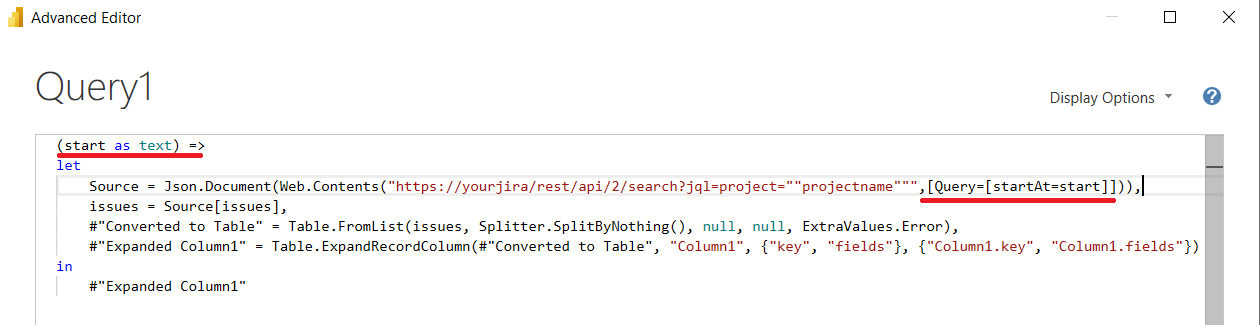
- i. The final result is:
- a. In the “applied steps”, select “source”
- 4. Select “query2”:
- a. Click on “home -> advanced editor”
- i. Remove everything below “source” to have only this:

- ii. Add this below “source”:
total1 = List.Numbers(0,Number.RoundUp(Source[total]/50),50),
#"Converted to Table" = Table.FromList(total1, Splitter.SplitByNothing(), null, null, ExtraValues.Error),
#"Changed Type" = Table.TransformColumnTypes(#"Converted to Table",{{"Column1", type text}})
in
#"Changed Type"
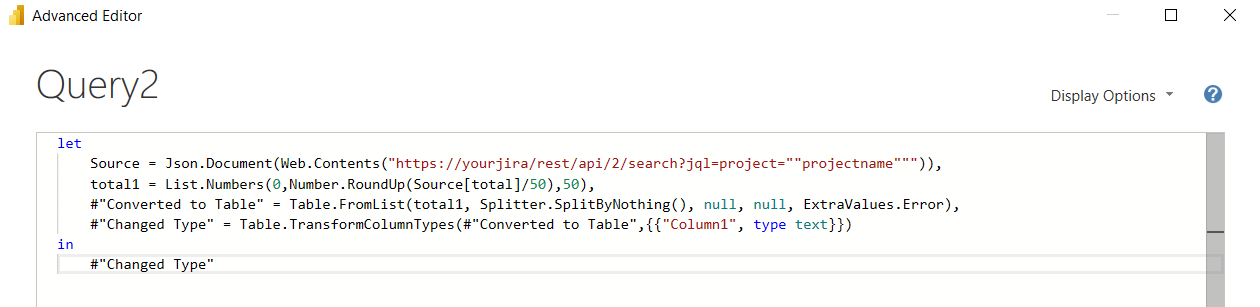
NOTE: change 50 by the maximum value (for instance 1000) if need be
- i. Remove everything below “source” to have only this:
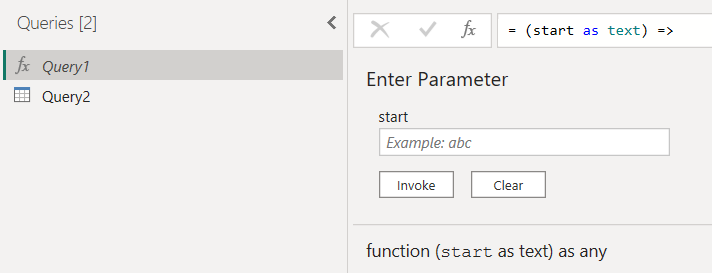
- b. Click on “add Column -> invoke custom function”
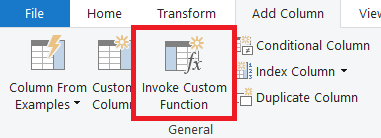
- c. Fill the fields as the picture:
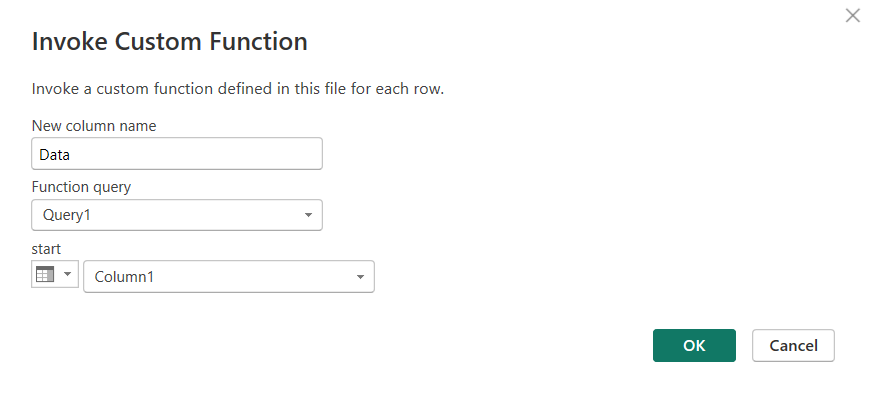
- d. Click on the expand icon in the “data” column then “OK”:
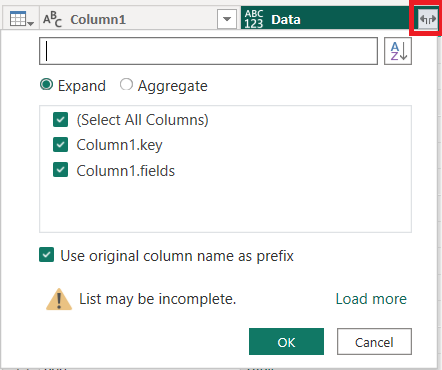
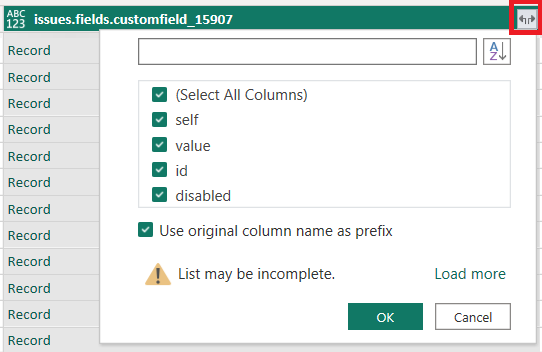
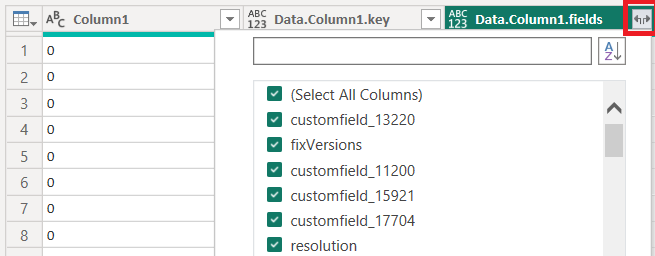
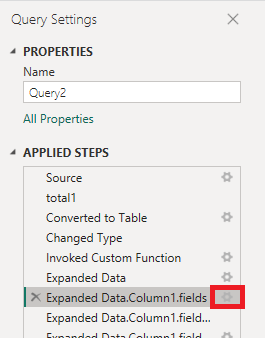
- e. Click on the expand icon in the “data.column1.fields” column to select the columns I need
- a. Click on “home -> advanced editor”
- 5. Once done, click on “home -> close & apply”
The tricky part is the column selection because if some names can give me a clue about the value, others with name like “customfield_13220” are not so easy. In such situation, I select all columns then I check one by one by clicking on the expand icon. Once I have the needed columns, to remove the others, in the “applied steps” section, double click on this icon below the “expanded data”:
Interesting Management
-

Part 1: A good manager, better team motivation, better team productivity, better team results
When you are managing a team, “how to be a good manager” is the “must”...
-

Report optimization, increase your time management
As manager, I am doing many reports, even when I was an ITIL consultant, I still needed to do many reports...
-

Tools to get your ITIL intermediate certifications, the missing 15 points for the ITIL 4 Managing Professional
ITIL V3 is going to be obsolete...
-

The importance of the first customer meeting for the service
Managing an IT service when I start a new company is not an easy task, particularly true, if the service...
-

1 click macro tool: Incident/Problem Management - create a daily report in excel
This file will allow you to have in one single excel file the issues (incidents, problems, outages, major incidents...
-
1 click macro tool: Incident/Problem Management - create a daily report and a public version in excel
This file is an extended version of the above that includes the option to create a public version to share with...
-
1 click macro tool: Problem/Incident Management - compile multiple daily excel files in 1 with access
This file will allow you to compile all daily issues reported in excel in 1 single excel file in xlsx format...
-
1 click macro tool: Incident/Problem Management - create a monthly report in excel
This file will allow you to create a monthly report related to daily issues and updating all pivots, charts and...
-
1 click macro tool: Problem/Incident Management - create daily reports and compile them in 1 to create the monthly report in excel
This tool will create daily reports then compile them to create the monthly...
-

Calculate a weighted average for a SLA and a conversation time with a formula in an excel report
In one of my experiences, I had a tool that gave me the weighted average...
-
Search in different sheets then display the wanted data with a formula in an excel report
vlookup and hlookup are formulas that allow to search a data in another...
-
Find the good data by matching 3 different criterias with a formula in an excel report
It is a combination of “index” and “match” formulas, much better...
-
Sum and count sales with a formula in an excel report
Extracting data from salesforce or qlikview may not give the information I needed, it already happened...
-
Know how long a service is impacted with a formula in an excel report
It is important to know how long the service has been impacted by...